

Installing parking lot lights is a critical project for any commercial or residential property. A well-lit parking area enhances safety, security, and overall aesthetics.
At PacLights, we understand the importance of proper lighting installation. This step-by-step guide will walk you through the process, from planning to final testing, ensuring your parking lot shines bright.

How to Plan Your Parking Lot Lighting Project
Assess Your Parking Lot
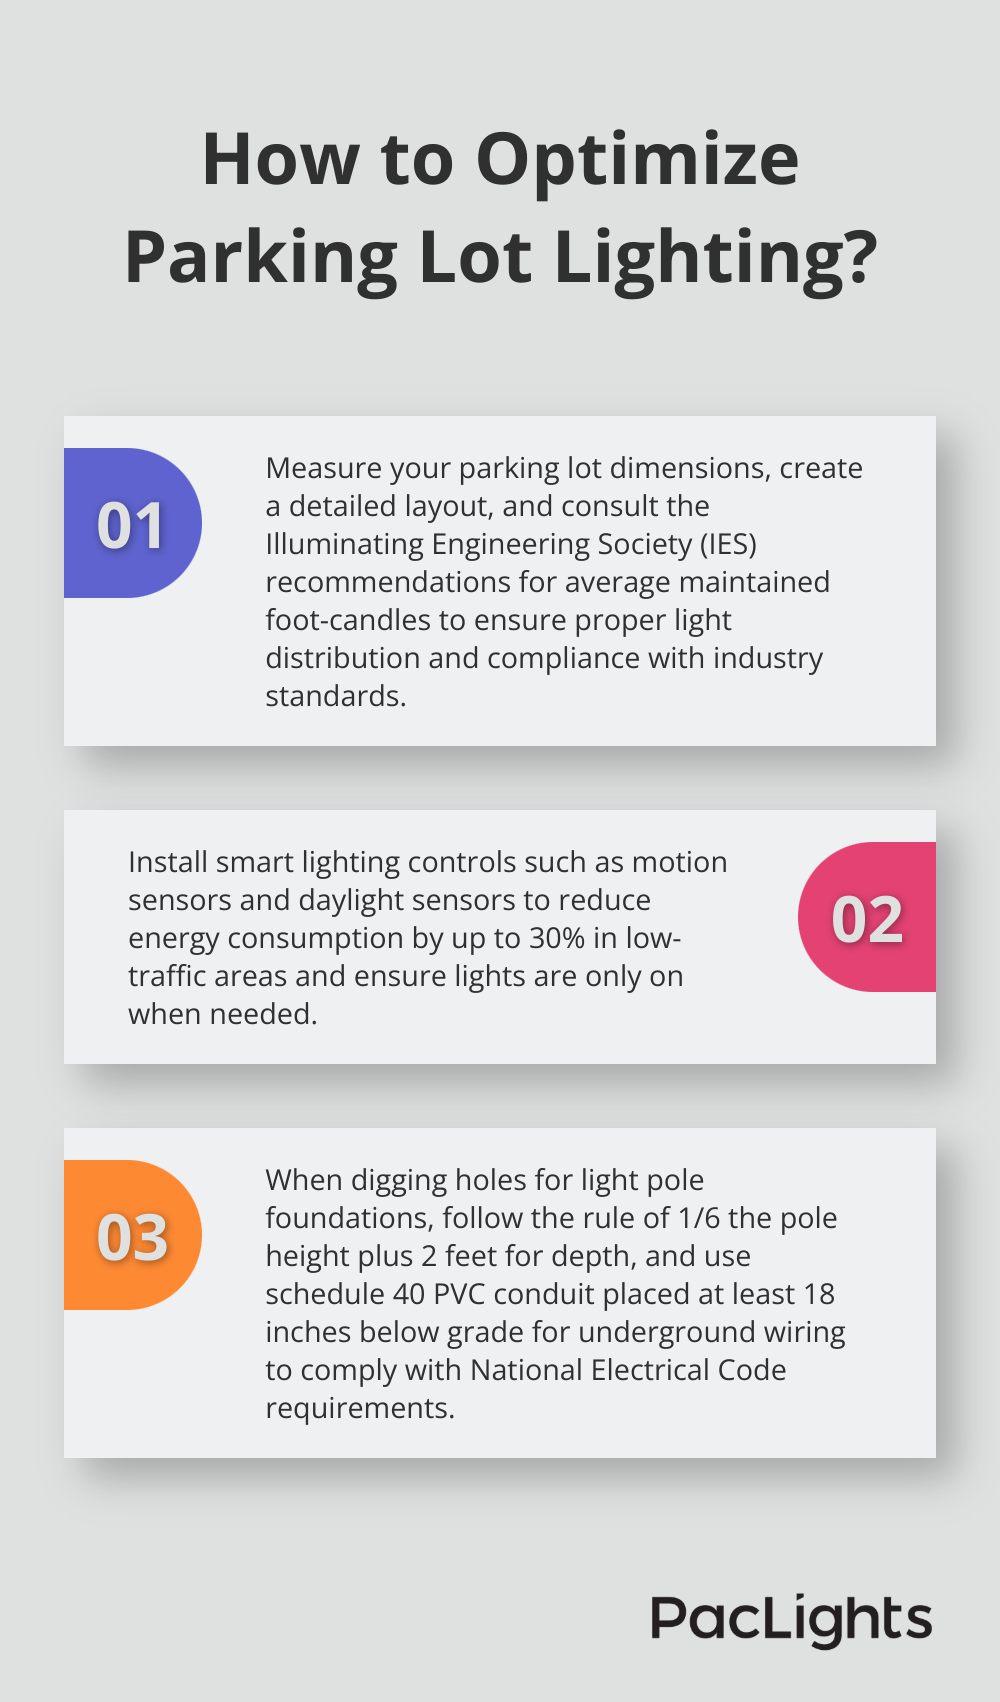
Start by measuring your parking lot’s dimensions and create a detailed layout. Note the location of existing structures, trees, and obstacles that might affect light distribution. A professional survey will provide accurate measurements and identify potential challenges.
The Illuminating Engineering Society (IES) provides recommendations for average maintained foot-candles measured at horizontal and vertical planes for parking lots. These recommendations can vary based on the specific use of your lot.
Understand Lighting Requirements
Local regulations often dictate minimum lighting levels for parking areas. Check with your municipality’s zoning department for specific requirements. These may include light intensity, color temperature, and light pollution control measures.
The International Dark-Sky Association recommends the use of fully shielded fixtures to minimize light pollution. This not only complies with many local ordinances but also reduces energy waste and protects wildlife.
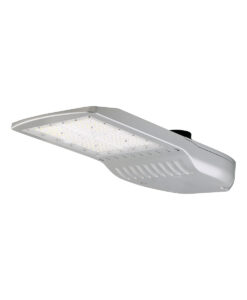
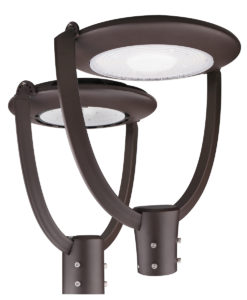
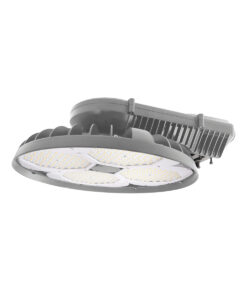
Select the Right Lights
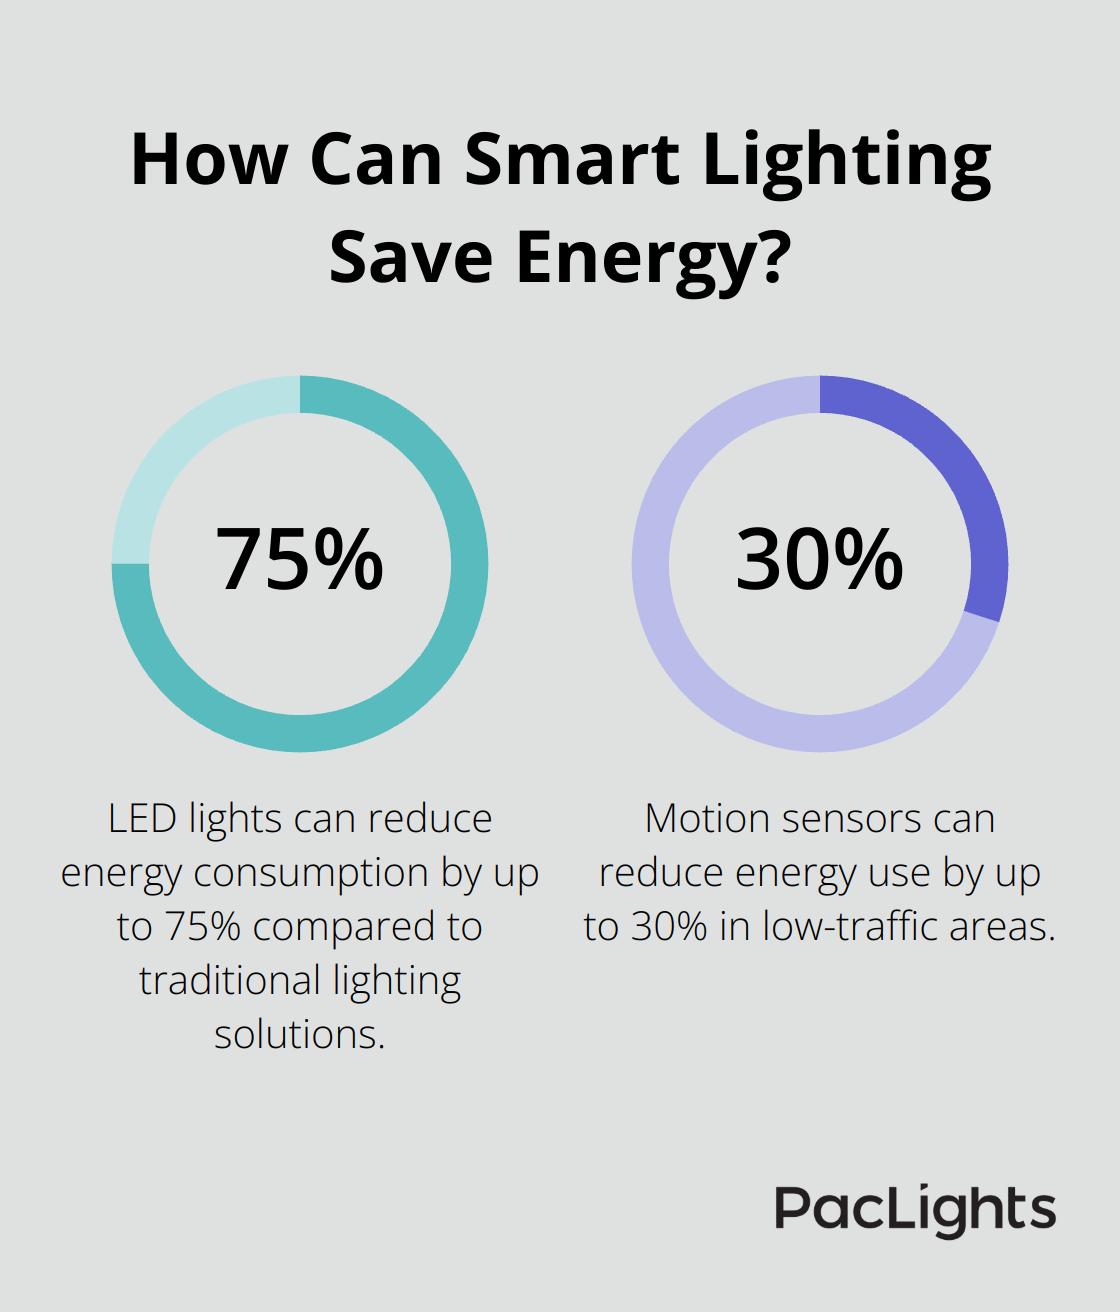
LED lights stand out as the top choice for parking lots due to their energy efficiency and long lifespan. They can reduce energy consumption by up to 75% compared to traditional lighting solutions (a significant benefit for both the environment and your budget).
When selecting fixtures, consider factors like color rendering index (CRI), color temperature, and lumen output. A CRI of 70 or higher is recommended for accurate color representation, which is essential for safety and security cameras.
Calculate Fixture Requirements
The number of fixtures needed depends on your lot size, desired light levels, and the output of your chosen fixtures. A general rule of thumb suggests one light pole for every 10-12 parking spaces, but this can vary based on your specific layout and lighting goals.
Use lighting design software or consult with a lighting professional to create a photometric plan. This will help you visualize light distribution and identify any potential dark spots or areas of over-illumination.
Consider Energy Efficiency
Incorporate smart lighting controls to maximize energy savings. Motion sensors can reduce energy use by up to 30% in low-traffic areas. Daylight sensors ensure lights are only on when needed, further reducing unnecessary energy consumption.
With your planning complete, it’s time to move on to the next crucial step: preparing for the installation process. This phase involves obtaining necessary permits, marking utility lines, and ensuring all safety measures are in place.
Preparing Your Site for Light Installation
Securing Permits and Approvals
The first step in preparing for installation requires you to obtain the necessary permits and approvals. Contact your local building department to understand the specific requirements for your area. You’ll need to submit detailed plans of your lighting project, including the layout, fixture specifications, and electrical diagrams. Some jurisdictions may require additional documentation (such as a photometric plan or an environmental impact assessment).
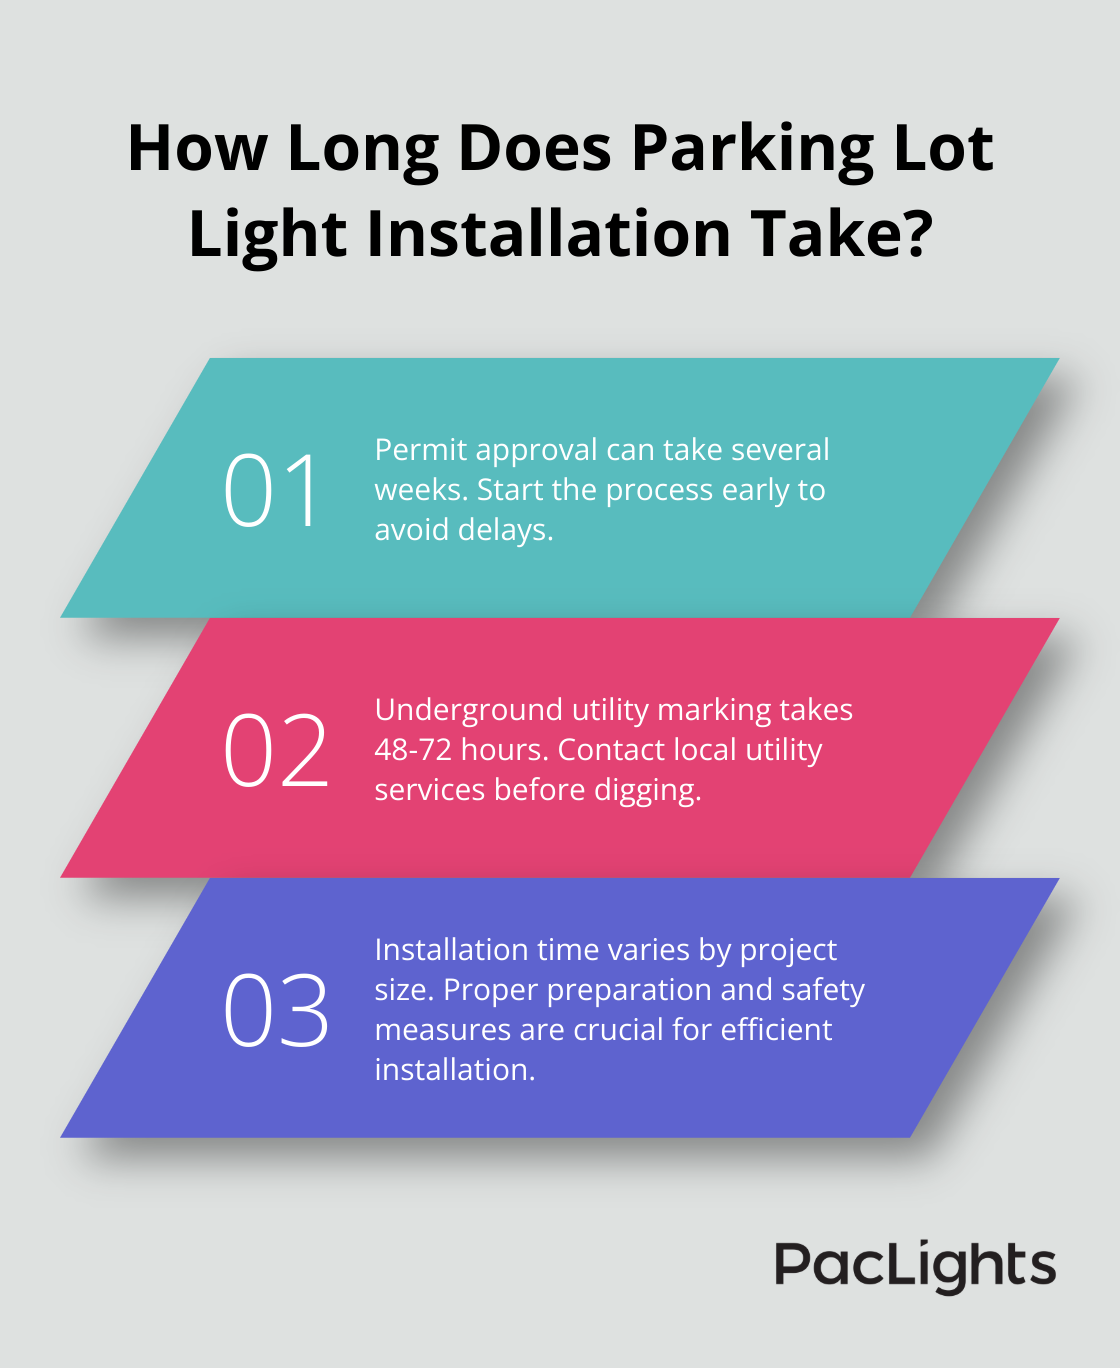
The approval process can take several weeks, so start early to avoid delays. Many municipalities have specific requirements for outdoor lighting to minimize light pollution. For example, the city of Tucson, Arizona requires all outdoor lighting to be fully shielded and limits the color temperature to 3000K or lower to protect the dark sky for astronomical observations.
Locating Underground Utilities
After you have your permits, the next important step is to locate and mark all underground utilities. This is not just a safety precaution; it’s often a legal requirement. Contact your local utility locating service (often accessible by dialing 811 in the United States) at least 48-72 hours before you plan to dig. They will send representatives to mark the location of underground gas, electric, water, sewer, and telecommunication lines.
The Common Ground Alliance reports that an underground utility line is damaged every six minutes in the U.S. due to digging activities. Proper marking of these lines helps you avoid costly damages and potentially life-threatening accidents.
Assembling Your Toolkit
The right tools and equipment are essential for efficient installation. While the specific needs may vary based on your project, some essential items include:
- Post hole digger or auger
- Concrete mixer
- Level
- Wire strippers and electrical tape
- Voltmeter
- Personal protective equipment (PPE)
For larger projects, you might need to rent heavy equipment like a skid steer or mini excavator. Check the installation guides for your chosen fixtures to ensure you have any specialized tools recommended by the manufacturer.
Implementing Safety Measures
Safety should be your top priority throughout the installation process. Establish a clear work zone and use barriers or cones to keep the area secure. Equip all team members with proper PPE, including hard hats, safety glasses, and steel-toed boots.
If you’re working with electricity, follow all OSHA guidelines for electrical safety. This includes using insulated tools, wearing rubber gloves, and never working on live circuits.
For pole installations, use appropriate fall protection equipment when working at heights. OSHA requires fall protection for any work performed at heights of six feet or more in the construction industry.
With these preparations complete, you’re now ready to move on to the actual installation process. The next chapter will guide you through the step-by-step procedure of installing your parking lot lights, from digging holes for light pole foundations to connecting the wiring and testing the system.
How to Install Parking Lot Lights
Excavation and Foundation Preparation
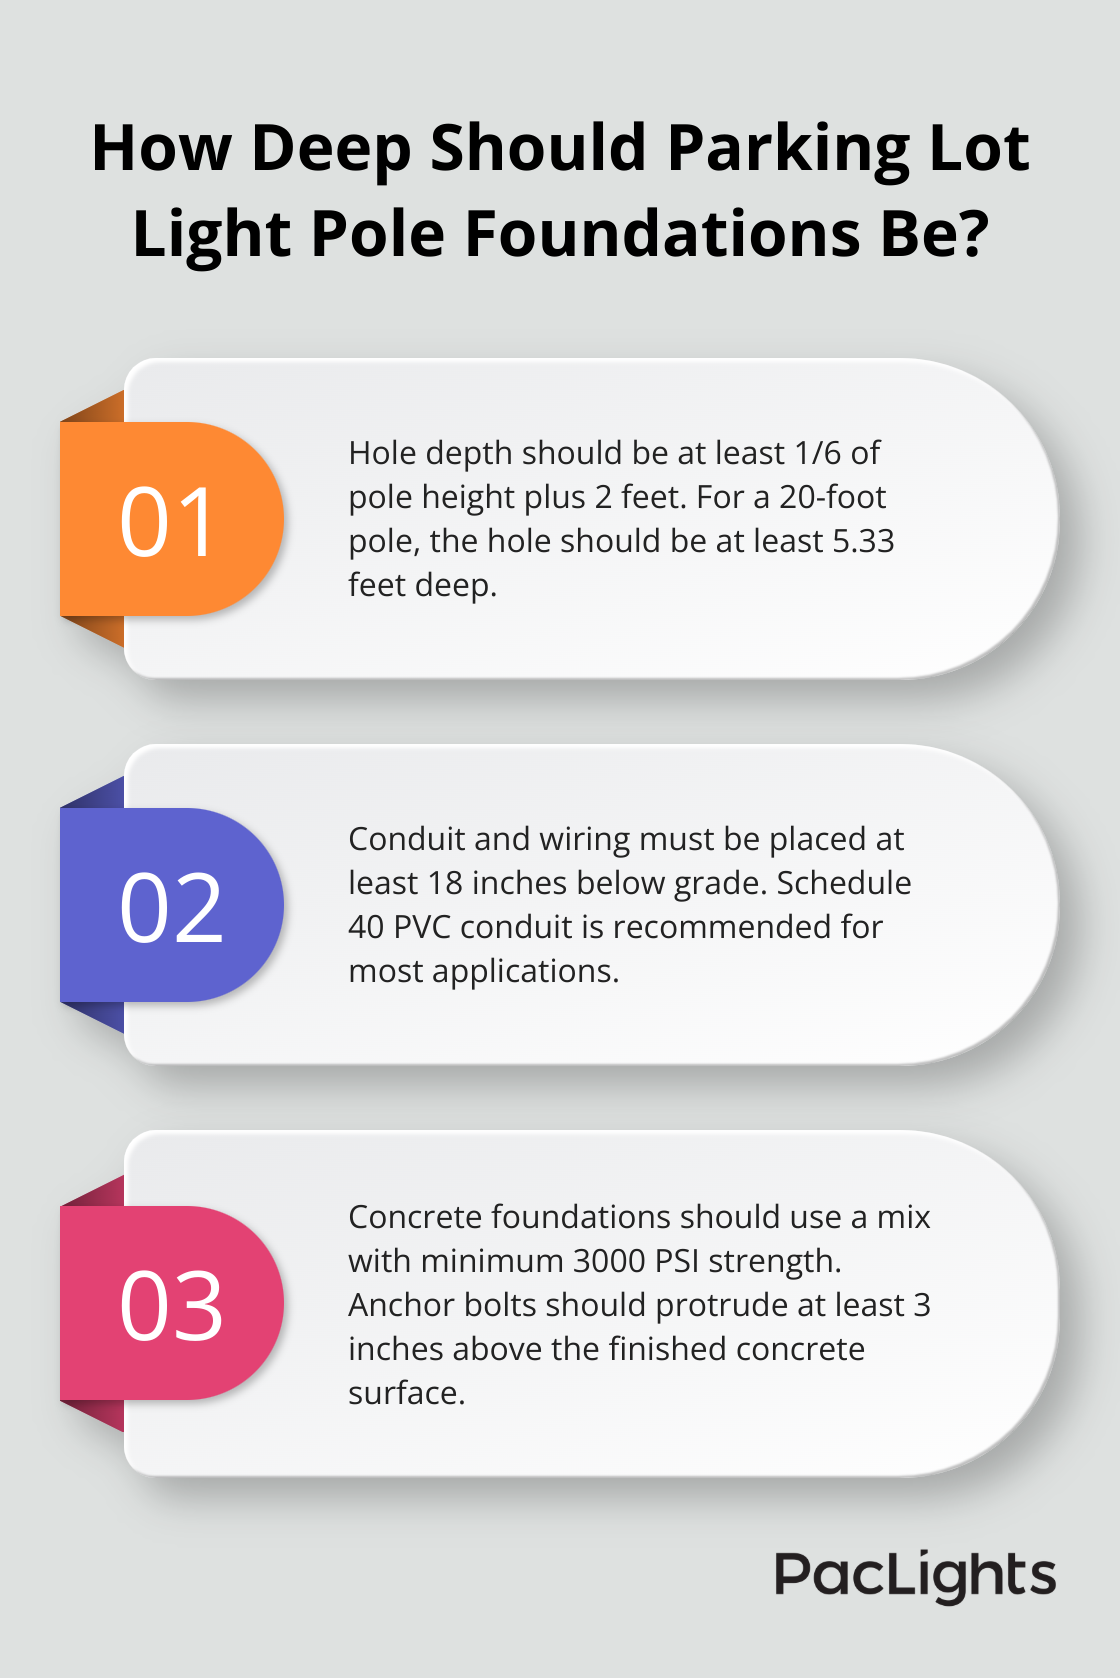
Start the installation process by digging holes for your light pole foundations. The depth and width of these holes depend on local building codes, soil conditions, and pole height. A general rule suggests a hole depth of at least 1/6 the pole height plus an additional 2 feet. For instance, a 20-foot pole requires a hole at least 5.33 feet deep.
Use an auger or post hole digger to create uniform holes. Make sure the bottom of each hole is level and compacted for a stable base. In areas with poor soil conditions, you might need larger concrete foundations or consultation with a structural engineer.
Conduit and Wiring Installation
Install the electrical conduit and wiring next. The National Electrical Code (NEC) mandates underground wiring placement in conduit at least 18 inches below grade. Use schedule 40 PVC conduit for most applications, ensuring proper sizing for your wiring needs.
Run the conduit from each pole location back to your power source (typically a nearby electrical panel). Leave enough slack in the wiring at each pole location to reach the top of the pole plus an additional 3 feet for connections.
Concrete Foundation Pouring
With the conduit in place, pour the concrete foundations. Use a concrete mix with a minimum strength of 3000 PSI. Before pouring, place anchor bolts in the correct pattern for your light pole base. These bolts should protrude at least 3 inches above the finished concrete surface.
Pour the concrete, ensuring it’s level and free of voids. Use a vibrator to eliminate air pockets, which can weaken the foundation. Allow the concrete to cure for at least 72 hours before mounting the poles.
Mounting Light Poles and Fixtures
After the foundations have cured, mount the light poles. Start by attaching the base plate to the anchor bolts, using a level to ensure the pole will stand perfectly vertical. Tighten the nuts in a star pattern to ensure even pressure.
Next, feed the electrical wires through the pole and attach any cross arms or fixture mounts. Finally, secure the light fixtures to the top of the pole or cross arms. Make sure all connections are tight and weatherproof.
Electrical Connections and Testing
The final step involves making the electrical connections and testing the system. Connect the wires from each fixture to the main power supply, using waterproof wire nuts and electrical tape to secure each connection. Install a fuse or circuit breaker at the base of each pole for added safety.
Before energizing the system, perform a thorough inspection. Inspect wiring for any signs of damage or degradation. If you notice any issues, consult a licensed electrician before you proceed. Check all connections, ensure proper grounding, and verify that all fixtures are securely mounted. Once you’re confident everything is in order, turn on the power and test each light.
Working with electricity can be dangerous. If you’re not comfortable with electrical work, it’s best to hire a licensed electrician. They can ensure your installation meets all local codes and safety standards (which vary by jurisdiction).
Installing parking lot lights requires careful planning, preparation, and execution. Each step plays an important role in creating a well-lit and secure environment. The installation process demands precision, from digging foundations to making electrical connections.
Proper maintenance ensures your lighting system continues to perform optimally. Regular inspections, cleaning, and timely replacements extend the life of your fixtures and maintain illumination levels. This ongoing care preserves your investment and ensures consistent safety for your parking area.
A well-lit parking lot enhances safety for pedestrians and drivers, reducing accident risks and deterring criminal activity. Improved visibility creates a sense of security for visitors, potentially increasing foot traffic to your business. Modern LED lighting solutions from PacLights can reduce energy consumption and maintenance costs (offering long-term savings and environmental benefits).
Disclaimer: PacLights is not responsible for any actions taken based on the suggestions and information provided in this article, and readers should consult local building and electrical codes for proper guidance.