Upgrading your lighting can be a game-changer for your home’s ambiance and energy efficiency. At PacLights, we’ve seen countless homeowners transform their spaces with simple retrofits.
Can light upgrades are one of the easiest ways to modernize your lighting setup. In this guide, we’ll walk you through the process of turning your old fixtures into sleek, energy-efficient LED can lights.
What Is Can Light Retrofitting?
The Basics of Can Light Retrofits
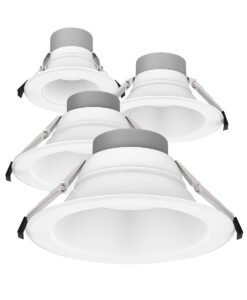
Can light retrofitting updates your home’s lighting without major renovations. This process replaces old recessed lighting fixtures with new LED technology while keeping the existing housing in place. It’s simpler than you might think and can dramatically improve your home’s lighting quality and energy efficiency.
A can light retrofit kit fits into your existing recessed light housing. These kits typically include an LED light engine, a trim piece, and the necessary wiring to connect to your home’s electrical system. The beauty of retrofitting allows you to upgrade your lighting without the need for extensive ceiling work or new wiring.
Benefits of LED Can Lights
LED can lights offer numerous advantages over traditional incandescent or fluorescent options:
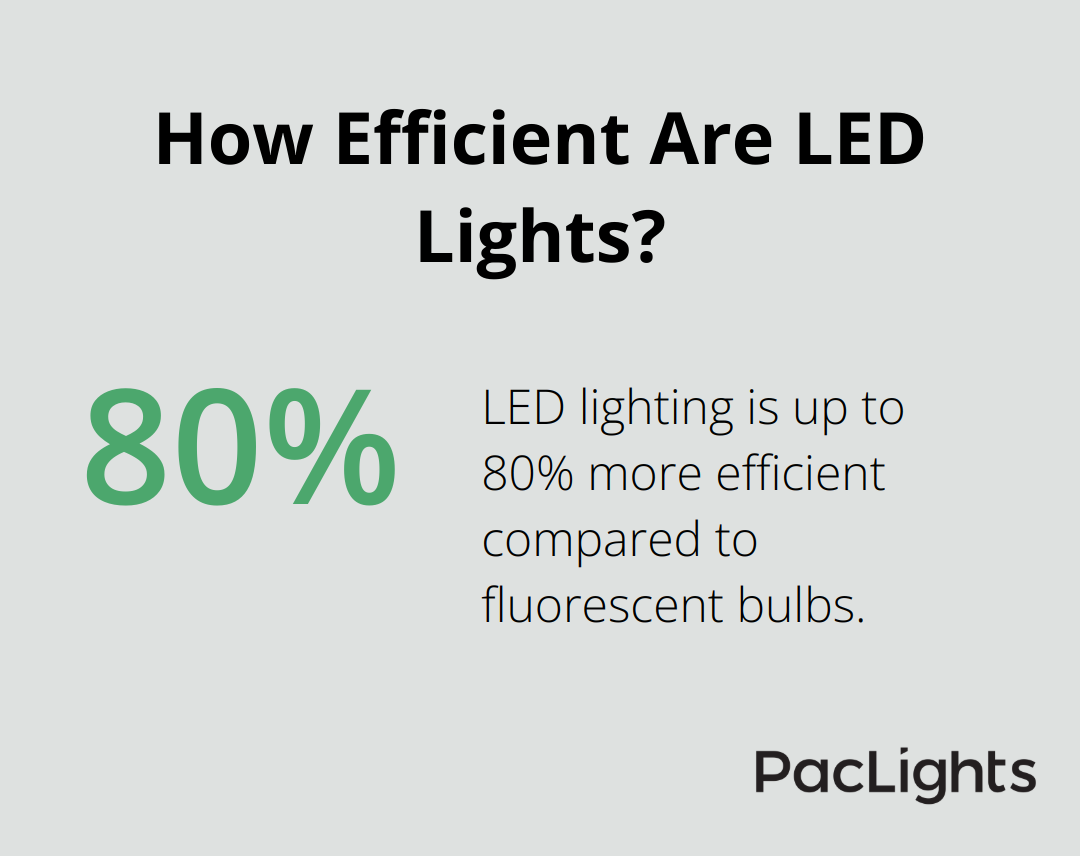
- Energy Efficiency: LED lighting is up to 80% more efficient compared to fluorescent bulbs, which translates to significant savings on your electricity bills.
- Longevity: LEDs last up to 50,000 hours compared to just 1,000 hours for incandescent bulbs. This means less frequent replacements and lower maintenance costs.
- Light Quality: LED can lights provide better light quality. They offer a range of color temperatures (from warm to cool white), allowing you to create the perfect ambiance in any room.
- Environmental Benefits: LED lighting is better for the environment due to its energy efficiency.
Essential Tools for Your Retrofit Project
To successfully retrofit your can lights, you’ll need a few basic tools:
- Screwdriver (flathead and Phillips head)
- Pliers
- Wire strippers
- Voltage tester
- Ladder or step stool
You’ll also need to purchase LED retrofit kits that are compatible with your existing can light housings. It’s important to measure your current fixtures and check the compatibility of the retrofit kits before making a purchase.
Selecting the Right Retrofit Kit
When choosing retrofit kits, consider these factors:
- Light Output: Measured in lumens, this determines the brightness of your new lights.
- Color Temperature: This affects the mood of your space (warm for cozy atmospheres, cool for task-oriented areas).
- Dimming Options: If you want adjustable lighting, look for dimmable kits.
- Compatibility: Ensure the kit fits your existing housing (measure your current fixtures before purchasing).
While retrofitting can lights is a relatively straightforward DIY project, it does involve working with electrical components. If you’re not comfortable with electrical work, it’s always best to consult a professional electrician to ensure safety and proper installation.
Now that we’ve covered the basics of can light retrofitting and the tools you’ll need, let’s move on to preparing for the retrofit process. This next step will help you assess your existing fixtures and choose the right LED retrofit kit for your needs.
How to Prepare for Your Can Light Retrofit
Assess Your Existing Fixtures
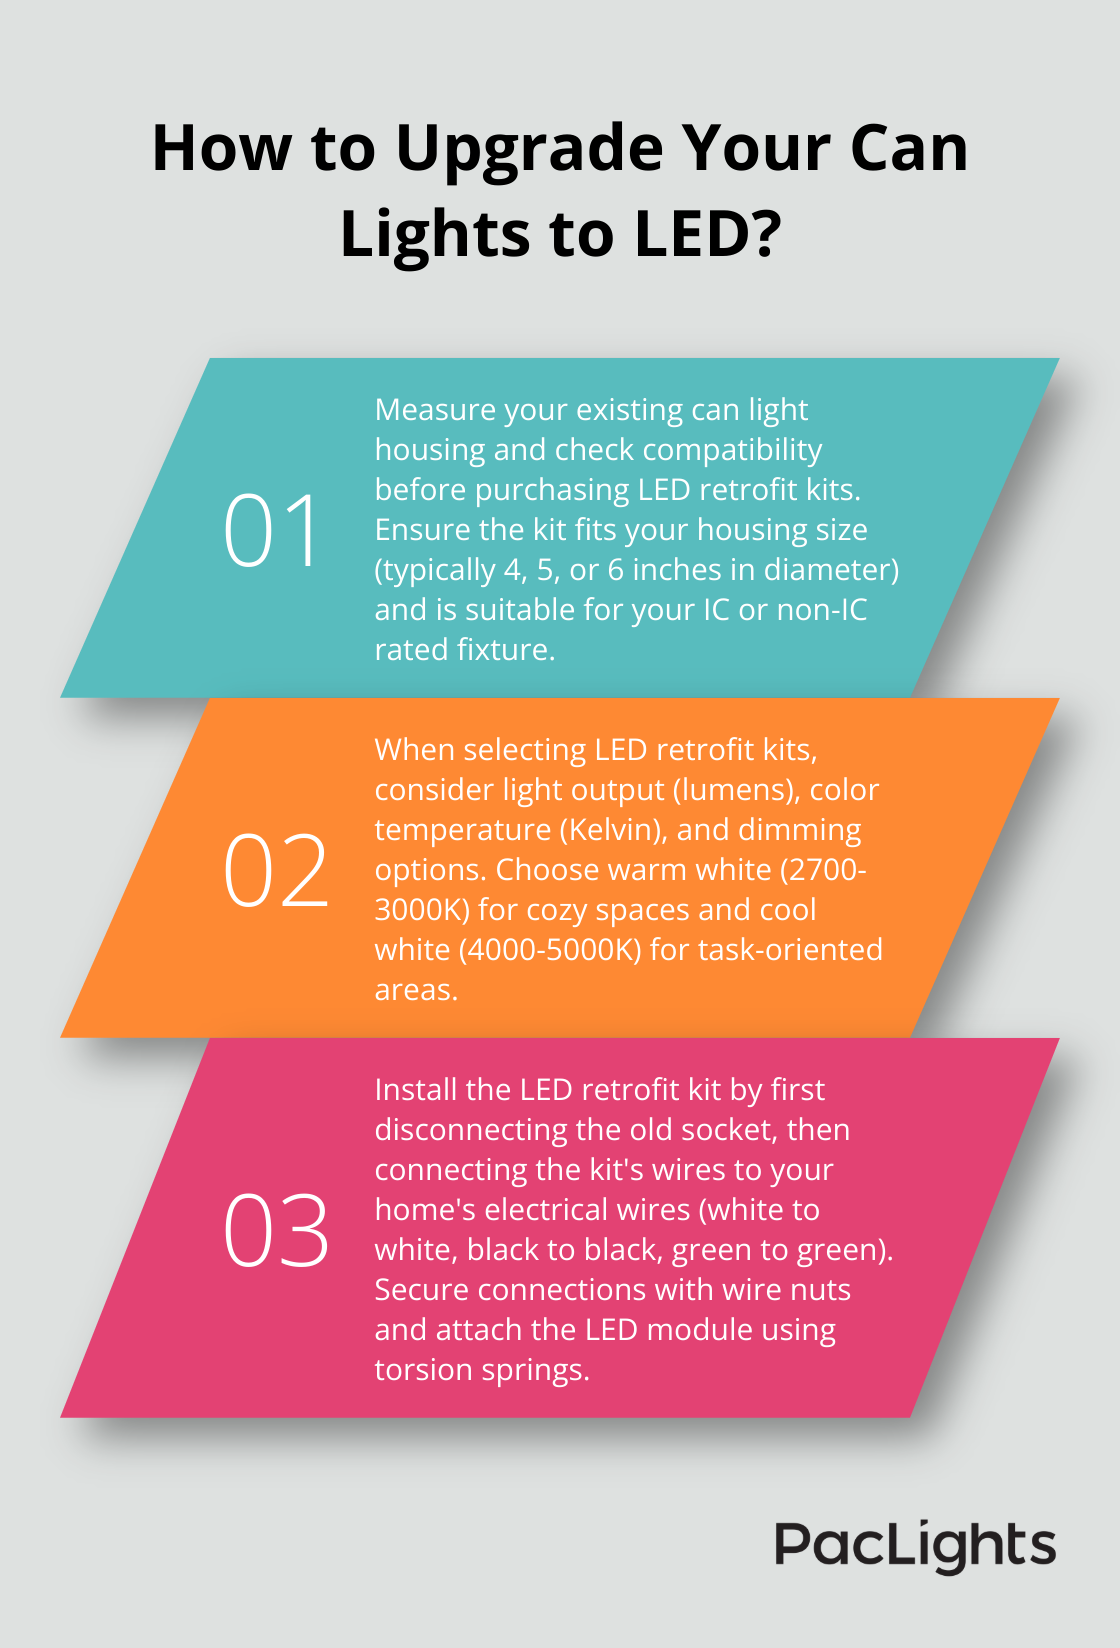
Start by examining your current recessed lighting setup. Turn off the power and remove the trim to inspect the housing. Note the size (typically 4, 5, or 6 inches in diameter). Check for any signs of damage or wear, such as rust or frayed wires. Address any issues before you proceed with the retrofit.
Next, determine if your existing housing is IC-rated (Insulation Contact) or non-IC rated. This information is essential when you select a compatible LED retrofit kit. IC-rated housings can safely come into contact with insulation, while non-IC rated ones require a gap between the housing and any insulation.
Select the Perfect LED Retrofit Kit
The right LED retrofit kit is critical for optimal performance and longevity. Consider these factors:
- Size compatibility: Measure your existing housing and choose a kit that fits snugly.
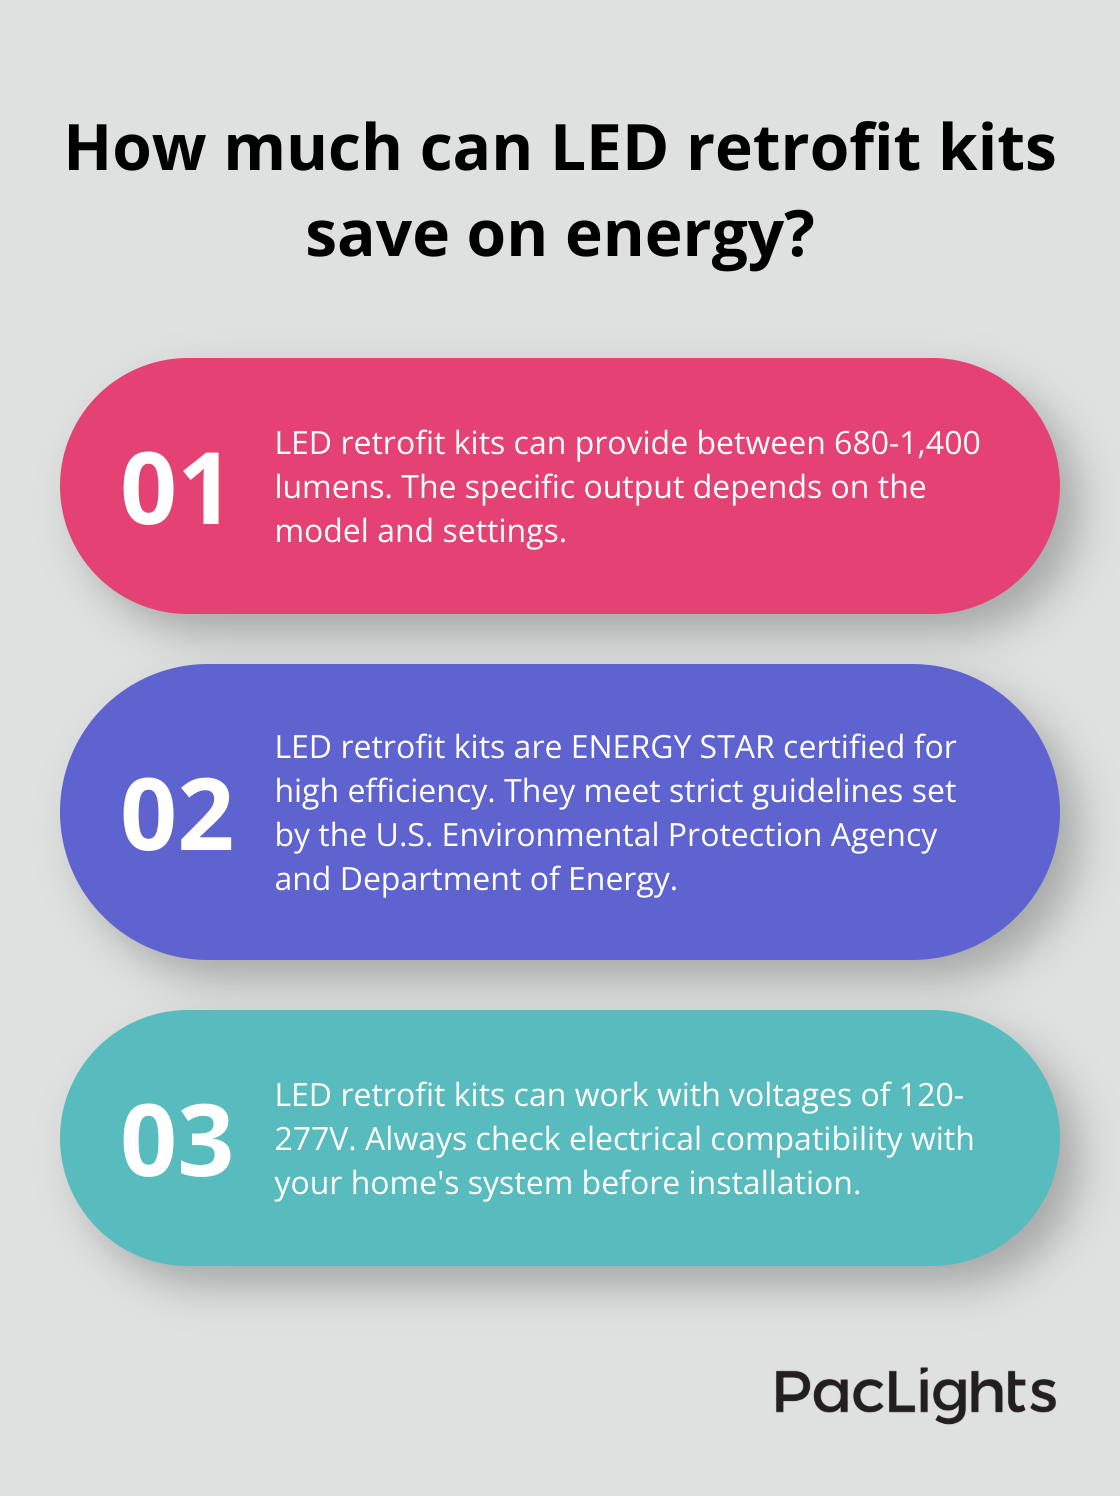
- Light output: Determine the desired brightness for each space. LED retrofit kits can provide between 680-1,400 lumens, depending on the specific model and settings.
- Color temperature: Select a color temperature that suits the room’s purpose. Warm white (2700-3000K) creates a cozy atmosphere, while cool white (4000-5000K) is ideal for task-oriented spaces.
- Dimming capabilities: If you want adjustable lighting, opt for dimmable LED kits. Ensure they’re compatible with your existing dimmer switches or plan to upgrade those as well.
- Energy efficiency: Look for ENERGY STAR certified products, which meet strict energy efficiency guidelines set by the U.S. Environmental Protection Agency and the Department of Energy.
Prioritize Safety and Electrical Considerations
Safety should be your top priority when you work with electrical components. Follow these precautions:
- Turn off power: Before you start any work, switch off the circuit breaker that controls the lights you’ll retrofit. Use a voltage tester to confirm the absence of electricity.
- Check electrical compatibility: Ensure your home’s electrical system can support the new LED fixtures. Some LED retrofit kits are designed to work with 120-277V, but it’s always best to double-check.
- Inspect wiring: Examine the existing wiring for any signs of damage or degradation. If you notice any issues, consult a licensed electrician before you proceed.
- Ventilation: Some LED retrofit kits generate heat and require proper ventilation. Check the manufacturer’s specifications to ensure your existing housing provides adequate airflow.
- Building codes: Familiarize yourself with local building codes and regulations regarding lighting installations. Some areas may require permits or professional installation for certain types of electrical work.
The next chapter will guide you through the step-by-step process of installing your new LED retrofit kit, transforming your old fixtures into modern, energy-efficient lighting solutions.
How to Install Your LED Retrofit Kit
Prepare for Installation
Turn off the power to the light fixture at the circuit breaker. Use a voltage tester to confirm the absence of electricity. Remove the existing trim and bulb from the can light housing. You’ll see exposed wires and a socket inside the housing.
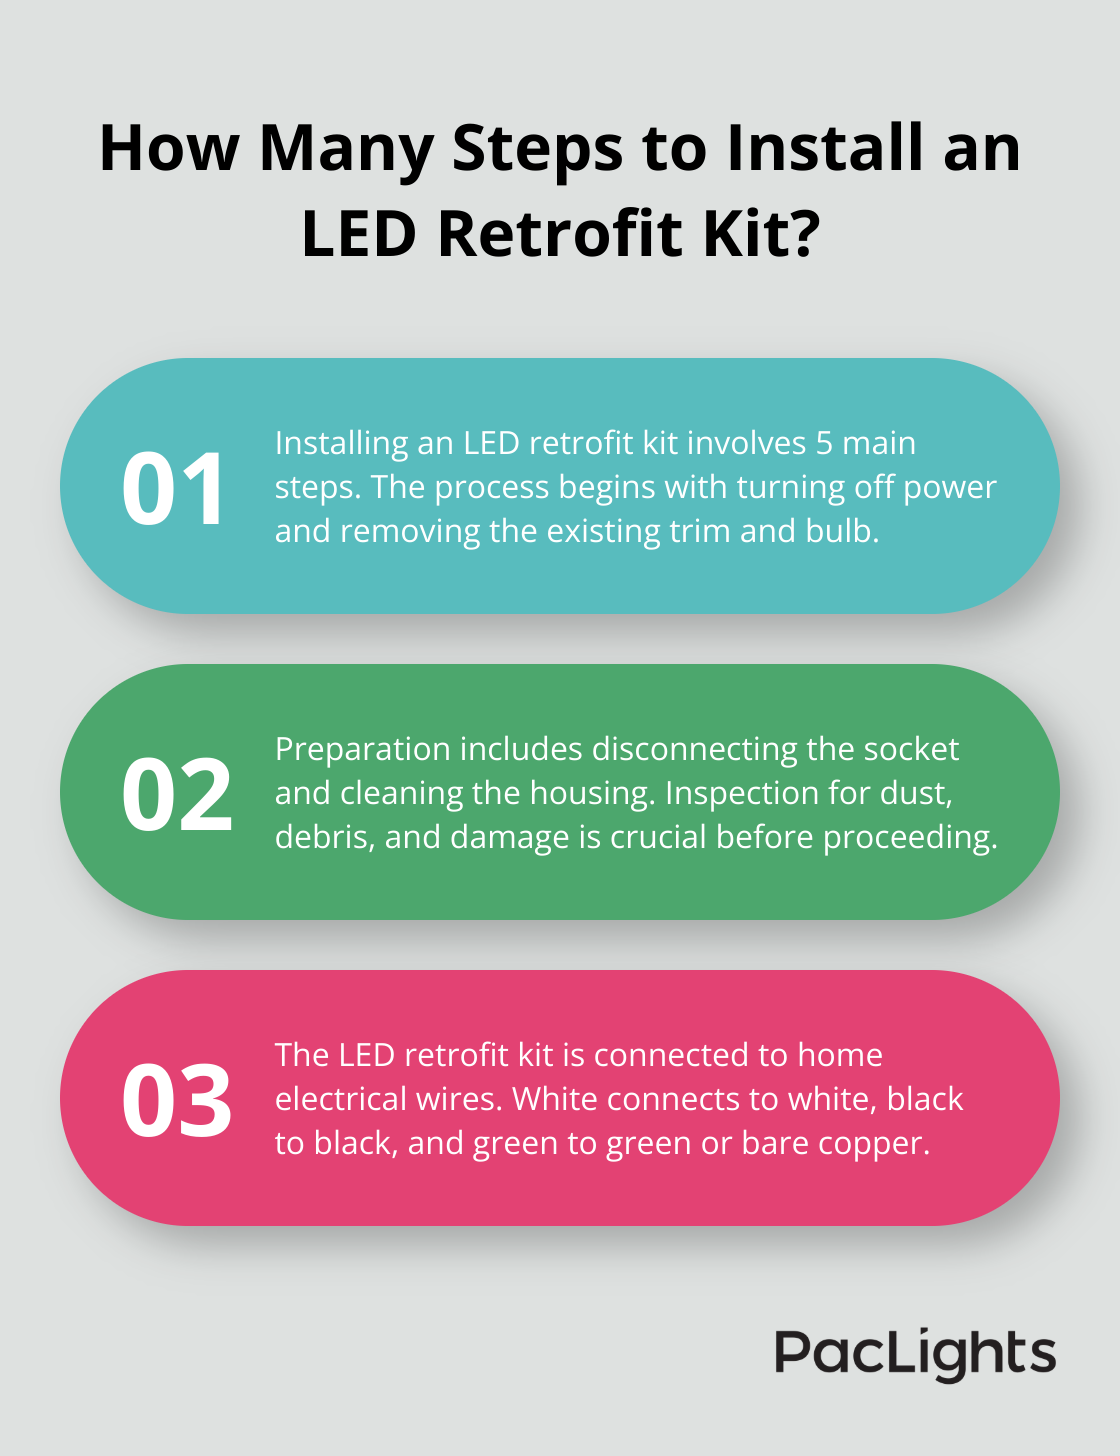
Disconnect the socket from the housing. Unscrew or unclip it, depending on your specific model. Pull down the socket and attached wires through the can opening. You might need to squeeze the housing’s retention springs to release them from the ceiling.
Clean and Inspect the Housing
Before you install the new LED retrofit kit, inspect the housing for dust or debris. Clean it thoroughly to ensure optimal performance of your new light. Check for any signs of wear or damage that might need addressing.
Remove the socket plate from the housing. This plate is typically held in place by a few screws. Once removed, you’ll have direct access to the junction box where you’ll make your new connections.
Connect the LED Retrofit Kit
Install your new LED retrofit kit. Connect the kit’s wires to your home’s electrical wires. Most kits come with detailed instructions, but generally, you’ll connect white to white (neutral), black to black (hot), and green or bare copper to green or bare copper (ground).
Use wire nuts to secure these connections. Ensure they’re tight and properly insulated. Tuck the connected wires back into the junction box.
Attach the LED Module
Attach the LED module to the housing. Many retrofit kits use torsion springs that hook into the existing can light housing brackets. Compress the springs, insert them into the brackets, and let the module snap into place against the ceiling.
Make Final Adjustments
Make any necessary adjustments to ensure the light sits flush against the ceiling. Some kits allow you to adjust the position of the LED module for optimal light distribution (this can significantly improve the overall lighting effect in your space).
Turn the power back on at the circuit breaker and test your new LED can light. If it doesn’t work immediately, double-check your wire connections.
Retrofitting old fixtures into modern can lights transforms your home’s lighting with a straightforward process. You will create a more energy-efficient, long-lasting, and visually appealing lighting system that enhances the ambiance of your living spaces. The upgrade to LED can lights will result in significant energy savings on your electricity bills, as LED lighting uses up to 80% less energy than traditional options.
The longevity of LED bulbs means less frequent replacements, which reduces maintenance costs and environmental impact. You can explore more ways to enhance your home’s illumination beyond can light retrofits. Modern lighting technology offers numerous possibilities to improve your space’s functionality and atmosphere.
At PacLights, we offer a wide range of lighting solutions for both residential and commercial spaces. Our products include energy-efficient options for indoor and outdoor use (with features like daylight and motion control to further optimize energy consumption). You can upgrade more fixtures or explore advanced lighting controls to create a more efficient and comfortable home environment.


Disclaimer: PacLights is not responsible for any actions taken based on the suggestions and information provided in this article, and readers should consult local building and electrical codes for proper guidance.